

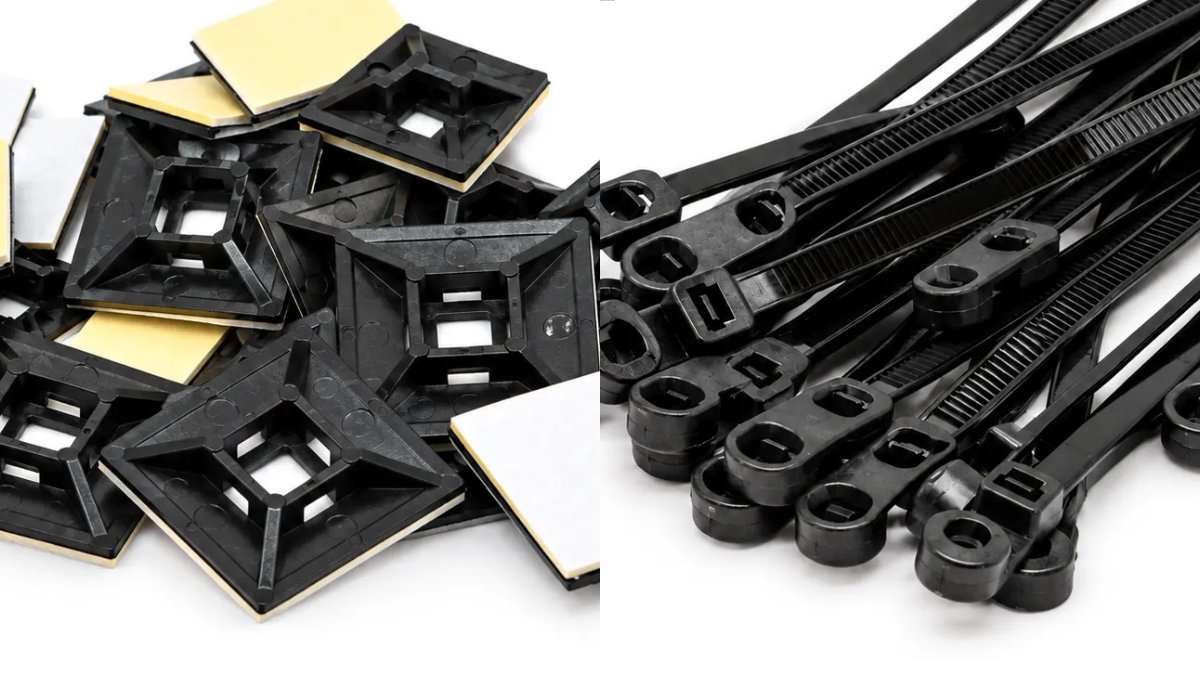
How to attach zip ties to a wall or surface: give the tie something fixed to loop through. Stick or screw a zip tie mount to the surface and thread the tie through it, or use a mountable zip tie that screws on at the head. For panels with holes, push type and button head ties clip straight in.
Here is how to choose and fit each one.
Four ways to fix a zip tie to a surface
| Method | Best for | Fixing |
|---|---|---|
| Zip tie mounts (20 x 20mm, 28 x 28mm) | Runs along desks, enclosures, panels and walls | Adhesive back, plus a centre screw hole |
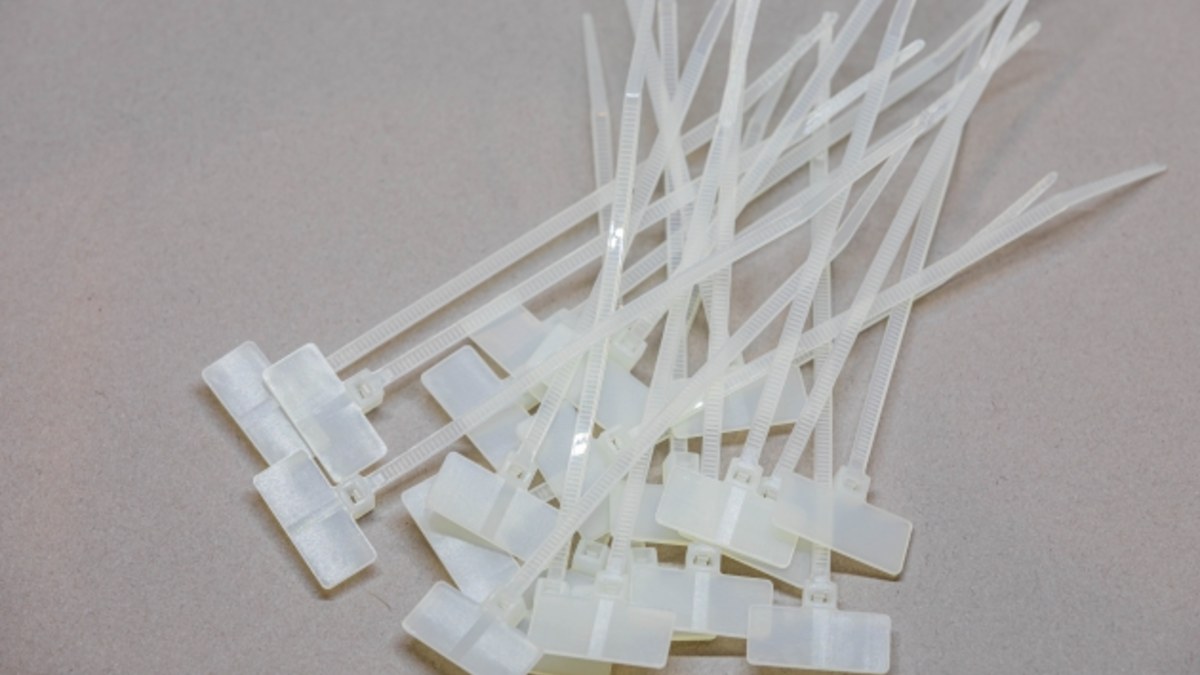
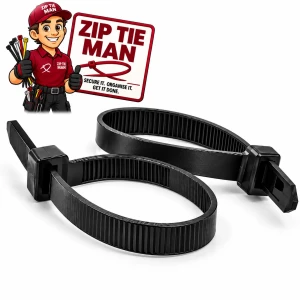
| Mountable zip ties (4.8 x 200mm, 22kg) | Fixing a bundle with one screw | Screw through the hole in the head |
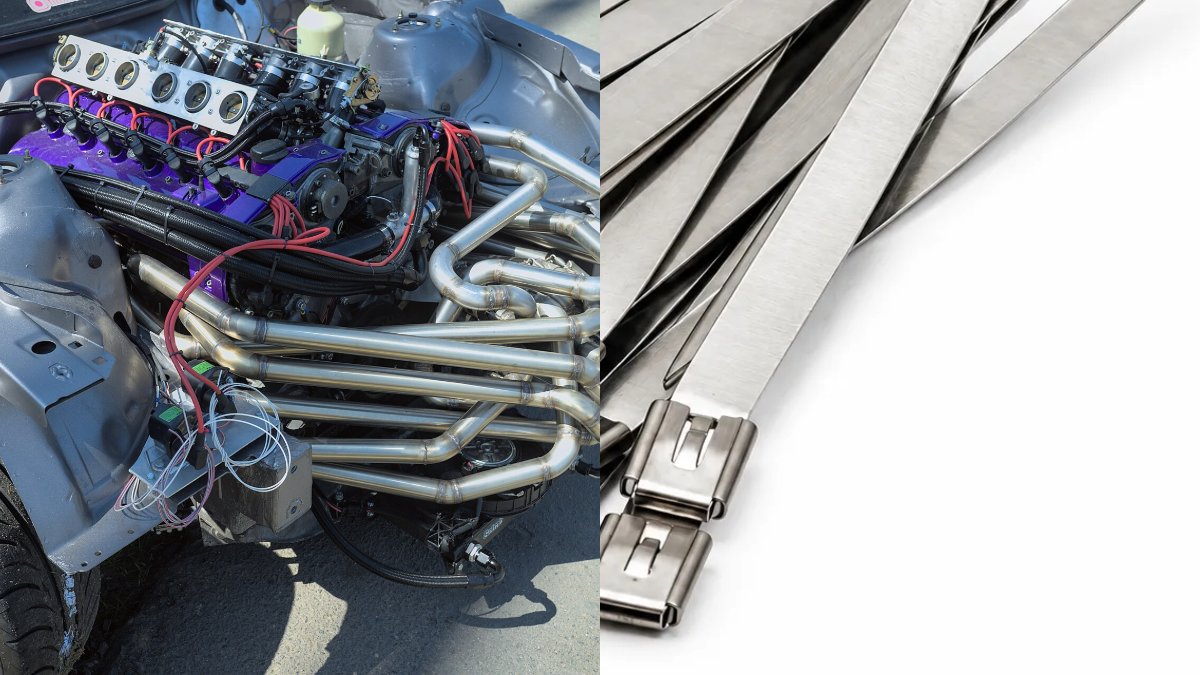
| Push type zip ties | Car panels and enclosures with holes | Clip pushes into a hole |
| Button head zip ties (7.6 x 370mm, 55kg) | Chassis rails on trucks and trailers | Head pushes into a rail hole |
Using adhesive zip tie mounts
- Clean the surface. Wipe off dust and grease. The adhesive holds best on a clean, dry, smooth surface.
- Peel and press. Remove the backing and press the mount firmly in place for a few seconds.
- Space them out. One mount every 200mm to 300mm keeps most runs straight.
- Thread the ties. Pass a tie through each mount, around the bundle, and lock it. 4.8mm black zip ties are the usual pairing.
- Add a screw where it matters. On rough, hot or vibrating surfaces, or where the run will be pulled on, put a screw through the centre hole as well.
Use 20 x 20mm mounts for switchboards, enclosures and under desks, and 28 x 28mm mounts for panel and vehicle looms and larger bundles.
Using mountable zip ties
A mountable zip tie has a mounting hole built into the head, so one screw holds both the tie and the bundle.
- Hold the bundle against the wall, frame or panel where it will run.
- Screw through the hole in the tie's head into the surface.
- Wrap the tie around the bundle and lock it.
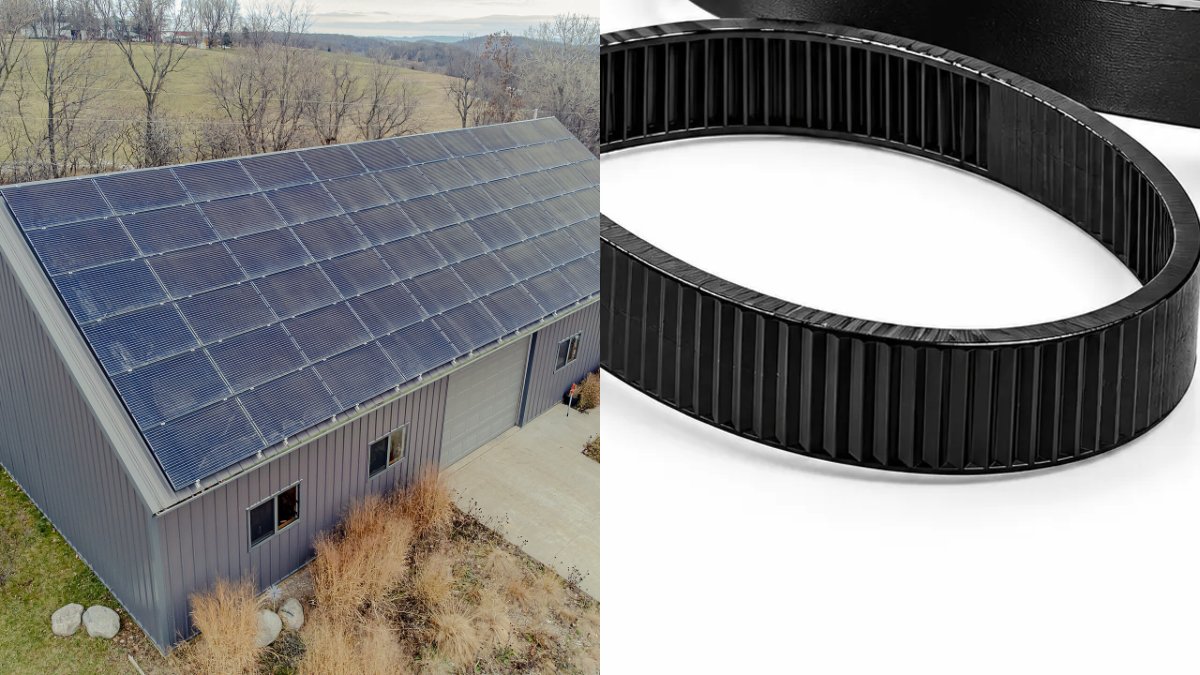
They suit trailer and vehicle wiring, shed and workshop runs, and solar cabling along frames.
Choosing the right screw
- Timber: a short wood screw straight in.
- Plasterboard: use a wall plug or plasterboard anchor; a screw alone will pull out.
- Brick and concrete: drill and plug.
- Metal frames: a self-tapping screw or a rivet.
Check for hidden wiring and pipes before drilling into a wall.
Hanging outdoor lights with zip ties
- Use black ties. Black nylon is UV stabilised for outdoor use.
- Fix to something solid: a gutter bracket, fence wire, a screw-in hook or a mountable tie screwed to a post or fascia.
- Tie the lead, not the bulb. Loop the tie around the light lead and leave it loose enough that it does not pinch.
- Take them down easily: releasable zip ties let you pack Christmas lights away without cutting anything.
Use only lights rated for outdoor use, and keep plugs and connections out of the weather.
Common questions
How do you attach a zip tie to a wall?
Fix a zip tie mount or a mountable zip tie to the wall with adhesive or a screw, then thread the tie through it and around the bundle.
Can you screw a zip tie to a wall?
Yes. A mountable zip tie has a screw hole in the head, and zip tie mounts have a centre screw hole.
Do adhesive zip tie mounts hold?
On a clean, dry, smooth surface, yes. On rough, hot or vibrating surfaces, add a screw through the centre hole.
Written by the team at Zip Tie Man, an Australian zip tie supplier since 2016.
Shop zip tie mounts, or read cable management with zip ties.